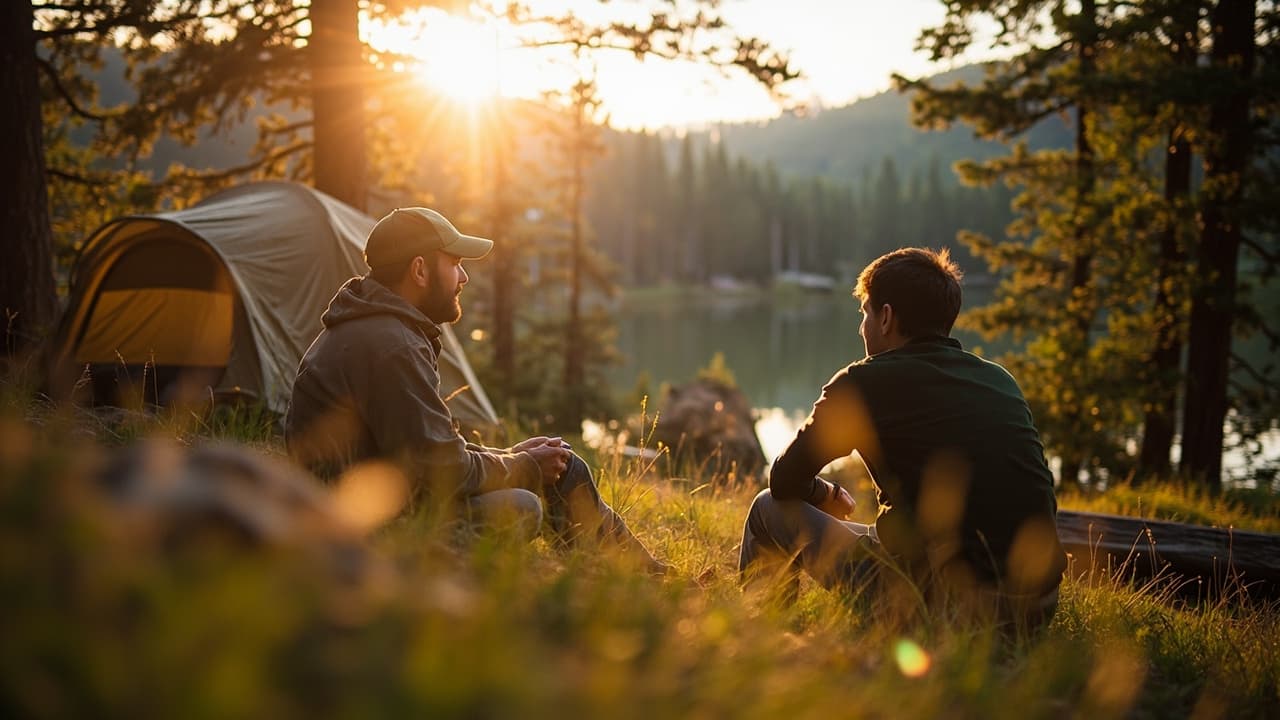
No gear? No problem. Here's exactly how to camp for the first time with zero equipment, borrowing what you need and renting the rest.
How to Start Camping With No Gear — Quick Comparison

Coleman Sundome Camping Tent with Rainfly

Coleman Brazos 20/30°F Adult Cool-Weather Sleeping Bag

Klymit Static V Sleeping Pad Green

Etekcity Ultralight Portable Outdoor Backpacking Camping

Squeeze Water Filtration System

Blukar 116 LED Camping Lantern Rechargeable
Prices and ratings last checked Oct 9, 2026 and can change at any time. Confirm the current price on Amazon before buying.
Starting from zero feels intimidating, but camping is one of the most forgiving hobbies to enter. The gear list looks long on Instagram, but the actual minimum you need to sleep comfortably, eat safely, and see in the dark is shorter than most people think. This guide walks through the six core categories every first-timer has to fill, how to think about each one, and the specific picks that get a beginner from "I've never done this" to "I'm already planning next weekend" without overspending.
How to Choose a First Camping Kit
A beginner kit has to clear three bars at once: it has to be cheap enough that you can afford to learn what you actually like, simple enough that you can set it up in the dark after a long drive, and forgiving enough that one mistake does not ruin the trip. That balance is what separates a starter kit from a one-star experience.
Start with sleep system first. People obsess over tents and forget that the gap between a good night and a miserable one is almost always what is between you and the ground. A bag rated for the temperature you will actually camp in, plus a pad with real insulation value, matters more than the tent fabric or the color of the rainfly. A mummy bag in mild weather is fine; a rectangular quilt at freezing temperatures is a lesson you only need once.
Match tent size to people, not aspirations. Manufacturers count sleeping bodies, not gear storage. A "4 person" tent sleeps four thin humans who leave their backpacks in the car. If you want room for a dog, a duffel, and your boots inside, size up. Also pick a freestanding tent with continuous pole sleeves for the first trip; they pitch faster, and faster matters when you arrive at dusk.
Buy the cook system last. Stoves, fuel, and water treatment look important, but they are the easiest category to keep simple and the easiest to upgrade later. A single-burner stove, one pot, a spoon, and a way to filter or treat water is the whole kit. Fancy camp kitchens are for the second or third season.
Skip the gadget aisle. Camping-specific chairs, tables, organizers, and accessories are real, but they are not "starting from zero" purchases. A picnic blanket and a cool chair from the garage work for the first three trips. Save the dedicated gear budget for the four things below that actually determine whether you sleep and eat.
The Six Pieces That Actually Matter
A bare-bones kit that gets you camping this weekend has six slots: shelter, sleeping bag, sleeping pad, stove, water treatment, and light. Every other category is either an upgrade or a "nice to have." Here is what to put in each slot and why.
1. Shelter: A Tent That Pitches Fast
For a first tent, three things matter more than weight or fabric technology: how fast it pitches, how well it handles rain, and whether the instructions make sense at the end of a long day. A tent you can set up alone in under 15 minutes is a tent you will actually use, and a tent with a full-coverage rainfly and welded seams is a tent that survives the surprise storm that always hits your first trip.
The Coleman Sundome Camping Tent with Rainfly, 2/3/4/6 Person Tent Sets Up in 10 Mins, Weatherproof Shelter for Camping, Festivals, Backyard, Sleepovers, & More Navy Blue 4 Person (PFAS Free) is a classic first-tent pick for a reason. The Sundome line pitches in roughly 10 minutes with two people, comes in sizes from 2-person up to 6-person, and uses a continuous-pole design that does not require a manual to figure out. The 4-person version is a smart move for couples or small families because you actually fit four sleeping pads plus a small gear area, which is rare at this tier. It is also PFAS-free, which matters if you camp anywhere with water-sensitive regulations. For festival camping, backyard sleepovers, and state-park weekends it is the right scale of shelter.
For a first tent, prioritize a freestanding design, a full rainfly, and at least one vestibule or large door for stashing boots. You can add footprint groundsheets and footprint tarps later; the tent itself should not need extras to keep you dry.
2. Sleeping Bag: Honest Temperature Rating
The trap with first sleeping bags is buying for the lowest rating on the tag. Sleeping bag ratings use "survival" or "limit" standards, which are the temperature at which a person will not die, not the temperature at which a person will sleep. If you camp in summer at most sites, a 40°F bag is plenty. Shoulder season calls for 30°F. Real cold-weather camping is a different category altogether and not what beginners should buy for.
The Coleman Brazos 20/30°F Adult Cool-Weather Sleeping Bag with No-Snag Zipper & Stuff Sack, Machine Washable fits the typical beginner window. The Brazos line comes in 20°F and 30°F versions, both rated for cool-weather camping in spring, fall, and higher-elevation summer. The no-snag zipper is a real feature because jamming a zipper in the dark on night one is a universal experience. It is also machine-washable, which sounds minor until you realize that sleeping bags get weird fast and clean bags sleep warmer.
If you mostly camp above 8,000 feet or in true winter, look at true cold-weather bags instead. For most beginners, the 30°F version of a synthetic bag like this is the sweet spot: affordable, dries faster than down, and warm enough for three-season use.
3. Sleeping Pad: The Most Underrated Item
Sleeping pads do two jobs at once: cushioning and insulation. The ground steals heat faster than the air does, and a bare sleeping bag on bare ground can lose most of its warmth downward. A pad with an R-value of 2 or higher is the floor for three-season camping. R-value measures insulation; higher is warmer, and 2 to 3.5 covers most beginner situations.
The Klymit Static V Sleeping Pad Green is the textbook starter pad. The Klymit Static V uses a baffle pattern of V-shaped chambers that limit air movement, which means it insulates better than its packed size suggests. It packs down small enough to strap to a backpack or toss in a trunk, inflates in a handful of breaths, and has a textured surface that keeps a sleeping bag from sliding off overnight. It is not the warmest pad on the market, but it is the right pad to learn on because it reveals, on the first trip, whether you run warm or cold at night.
If you camp on hard ground or have a bad back, consider a thicker pad or even a budget cot down the road. For the first kit, a pad that inflates fast, packs small, and adds measurable insulation is the move.
4. Stove: One Burner Is Enough
A camp stove does not need to be fancy. For one or two campers, a single-burner canister stove boils water for freeze-dried meals, coffee, and dehydrated dinners in the time it takes to set up the rest of camp. Canister stoves are also the safest and cleanest option for beginners because there is no liquid fuel to spill.
The Etekcity Ultralight Portable Outdoor Backpacking Camping Stove with Piezo Ignition (Orange, 1 Pack) is the kind of starter stove that disappears into a side pocket of your pack and weighs about as much as a phone. The piezo igniter means no lighter or matches required; you twist a knob and it lights, even in damp conditions. It supports most standard isobutane canisters, boils water in roughly three to four minutes, and folds down small enough for backpacking, car camping, and emergency kits. Pair it with a single 1-liter pot and you have a complete camp kitchen.
If you plan to cook real meals rather than just boil water, add a basic cookware set later. For starting from zero, the goal is hot water and simple food, and a single-burner stove covers both.
5. Water Treatment: Never Trust the Source
Stream water is not safe to drink untreated, even at high elevation, even if it looks clean. Giardia, cryptosporidium, and bacteria do not care how pretty the campsite is. Treating water is non-negotiable, and the easiest way to make it a habit is to pick a method you will actually use.
The Squeeze Water Filtration System wait — that is not right. The squeeze-style water filter category is what you want here: a hollow-fiber filter that you fill, screw on, and squeeze clean water into a bottle. Most squeeze filters remove bacteria and protozoa down to about 0.1 microns, handle hundreds of liters before needing a replacement, and cost a fraction of pump filters. For two people on a weekend trip, one squeeze filter and a couple of clean bottles cover everything from cooking water to drinking water to brushing teeth.
Boiling also works as a backup method, but a filter is faster, uses no fuel, and encourages you to drink more water because it is easy. Hydration is one of the most common beginner mistakes, and easy water is the cure.
6. Light: One Lantern, One Backup
Darkness at a campsite is a different kind of dark than at home. There is no streetlight bleed, no moon sometimes, and you will be doing tasks with your hands. A lantern that lights the whole tent or picnic table is more useful than a headlamp alone for camp tasks like cooking, sorting gear, and playing cards.
The Blukar 116 LED Camping Lantern Rechargeable, Super Bright Camping Lights Warm Gray covers the camp-lighting job. 116 LEDs in a compact body throw enough light to read by and to find the zippers on your tent. The rechargeable battery means no AA stockpile, the warm gray tone is easier on the eyes than blue-white LEDs, and the handle hooks over the tent ceiling or hangs from a tarp ridgeline. Pair this with any cheap headlamp for hands-free night tasks and you have full lighting coverage.
Bring a small backup flashlight anyway. Lanterns get knocked over; headlamps get dropped. Redundancy matters when the only hardware store is a 45-minute drive.
The Verdict
Starting from zero is a six-piece problem: shelter, bag, pad, stove, water treatment, and light. Fill those six slots honestly and you can camp comfortably at car-camp sites and established campgrounds almost anywhere. Skip any one of them and the trip suffers in a way that will make you not want to go back.
The right first kit is also the kit you will learn from. After two or three trips you will know whether you run warm or cold, whether you need a bigger tent, whether you want to cook for real, and whether the hobby is worth investing in. Buy starter gear that teaches you what you like, then upgrade with intent. The list above is built to do exactly that.
Related guides: Cheapest Camping Setup for Beginners (Complete Guide) · Budget Camping Hacks That Actually Work
Keep reading